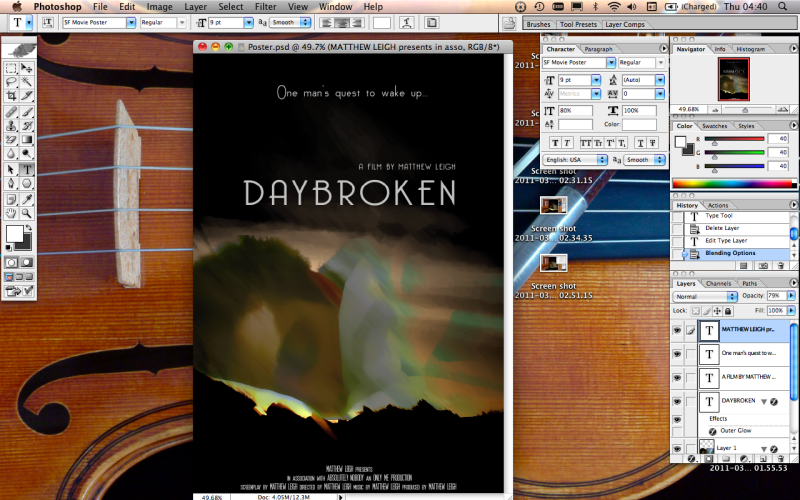
Film Poster Construction
Posted by Matthew Leigh | Posted in Ancillary Task Construction | Posted on
0
I started by selecting my background image, I took this from a screenshot of my film.
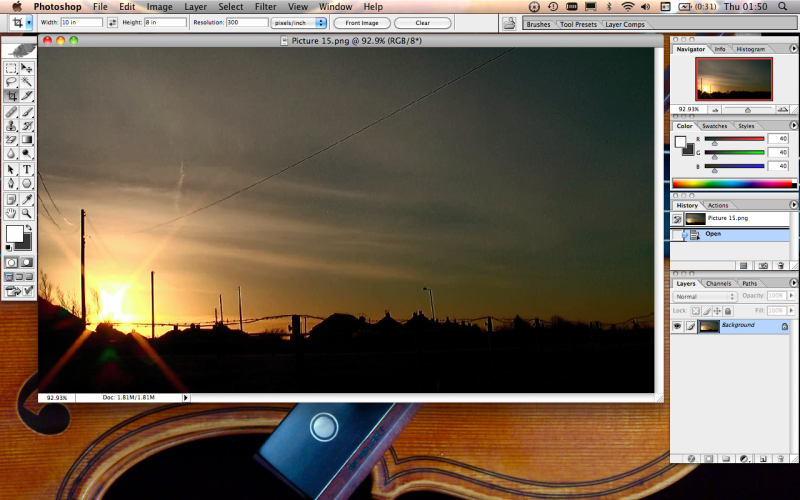
The next step was to crop the image to the correct dimensions for my poster. I did this by setting the measurements in the crop tool, and then using the crop tool to edit the image.
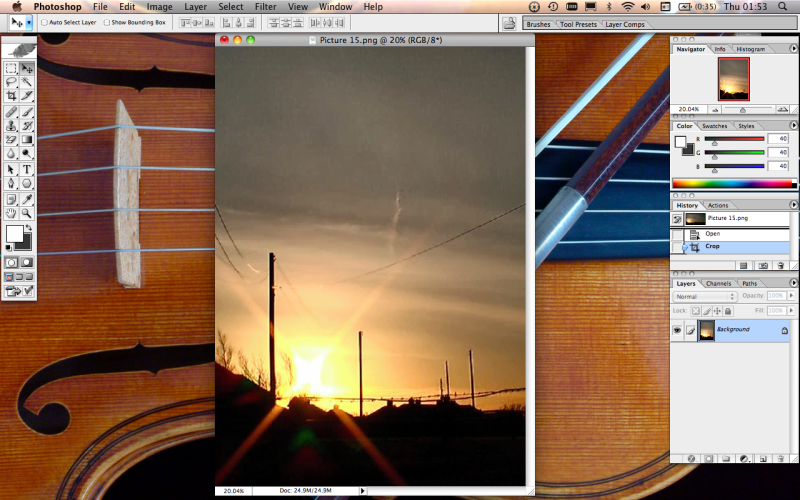
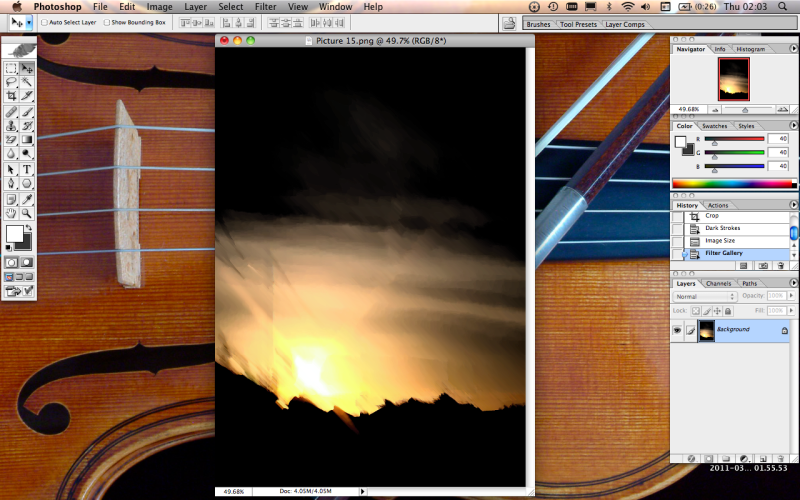
I then used the filter options to modify my background image to my liking.
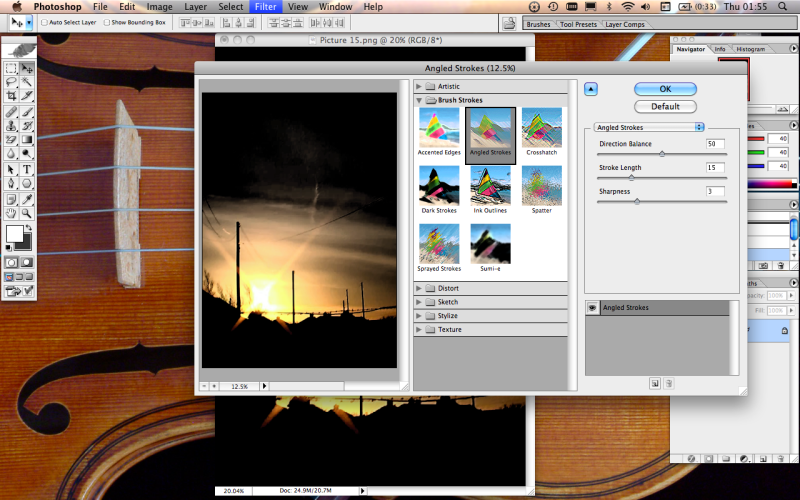
I decided on which filters to use, and modified their parameters until my background image looked like this.
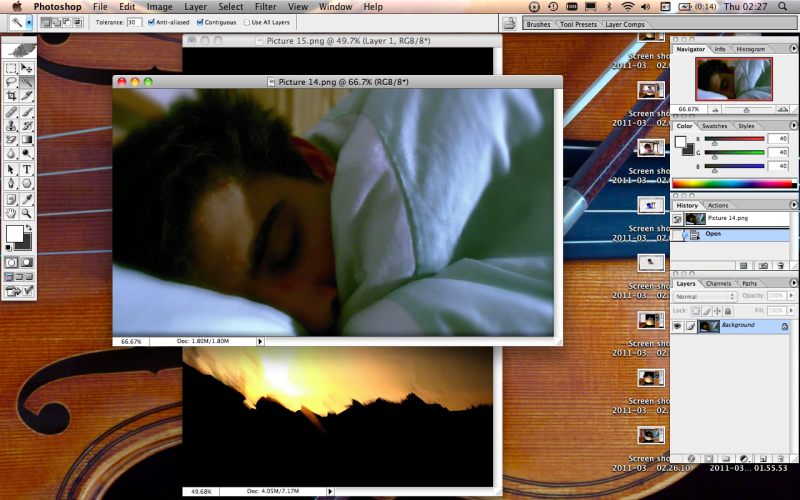
I then opened another screen shot from my film to form my second layer.
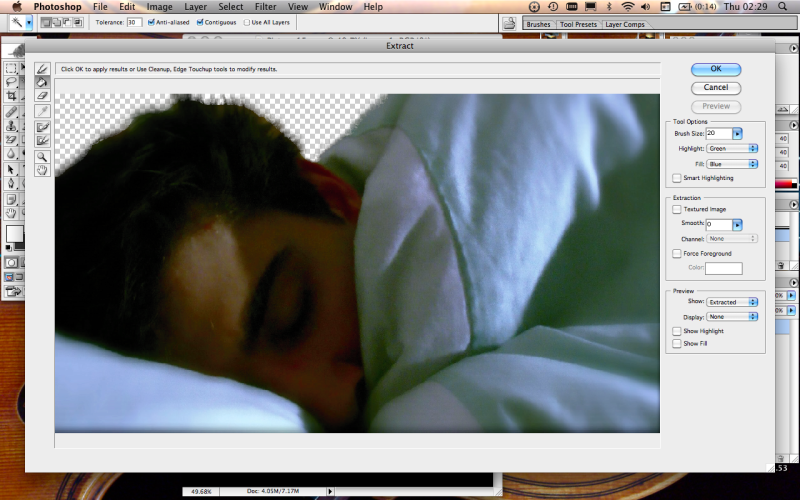
Next, I used the mark and extract tools to cut out a section of the new image's background.
I dragged the new image onto my background.
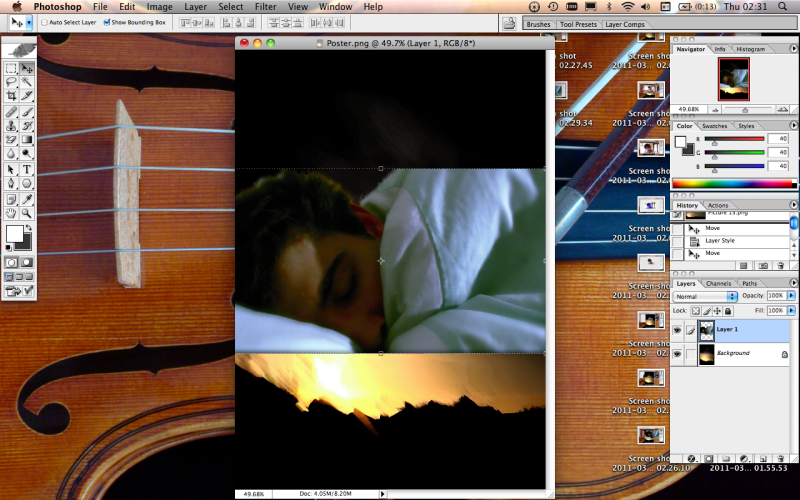
I then used the layout settings to alter the blending settings of my image, making it more transparent.
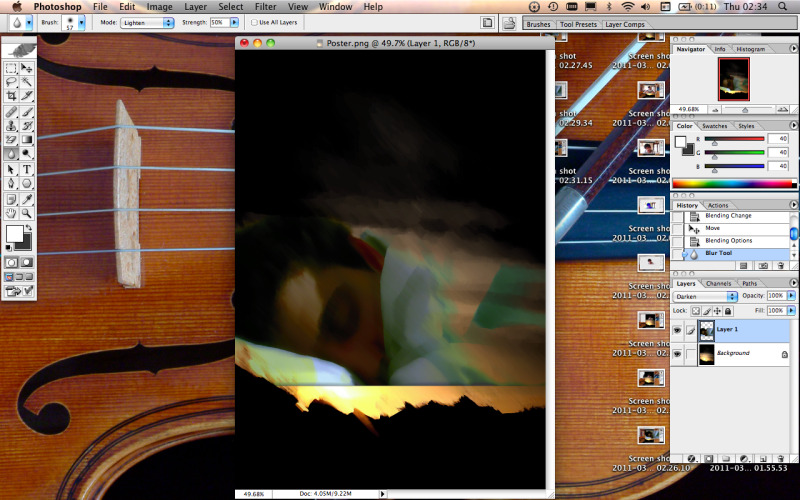
I used the dodge, blur and mover tool to tweak the image to my liking. I also added a slight shadow on the image, to help it blend smoothly with the background.
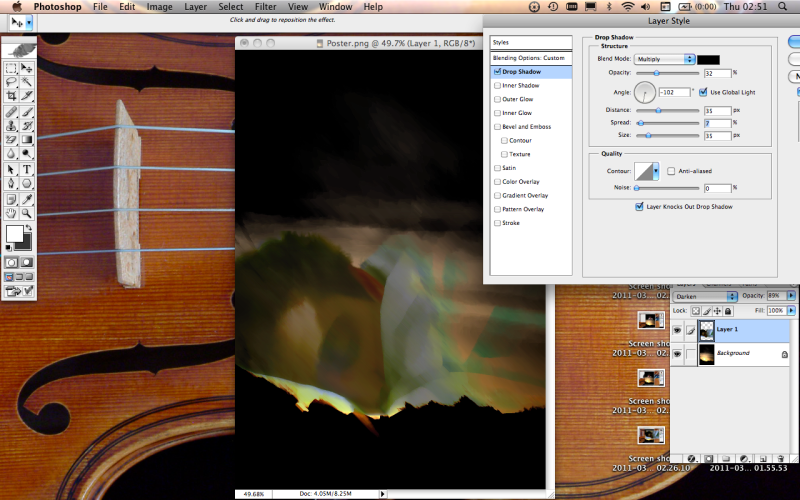
I then used the text tool to add text to my poster.
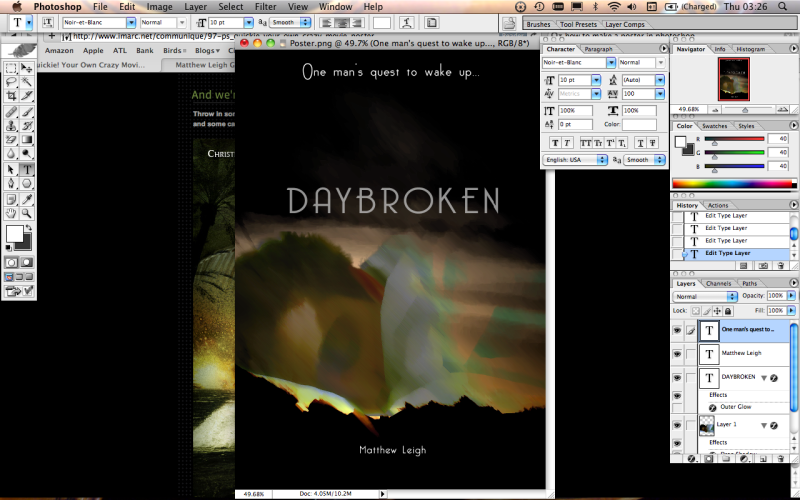
I wasn't happy with the positions of the text, and also I felt to achieve a true professional look I would have to add the small print credits to the bottom of the poster, and so I adjusted the positions of the text using the mover tool, and added the small print text, completing my poster.
